在hexo下的next主题添加gitalk评论,第一部分为初步配置,第二部分是我踩过的坑。
配置
Register Application
在GitHub上注册新应用,链接:https://github.com/settings/applications/new
填些时注意:
Application name:guestbook # 我新建了一个名为guestbook的Repositories来存放这些Issues。
Homepage URL: # 网站URL,如https://atlasnq.github.io/
Application description # 描述,随意
Authorization callback URL:# 网站URL,https://atlasnq.github.io/
点击确定后会跳转到一个页面,记录 client id和secret
gitalk.swig
新建/layout/_third-party/comments/gitalk.swig文件,并添加内容:
1 | {% if page.comments && theme.gitalk.enable %} |
comments.swig
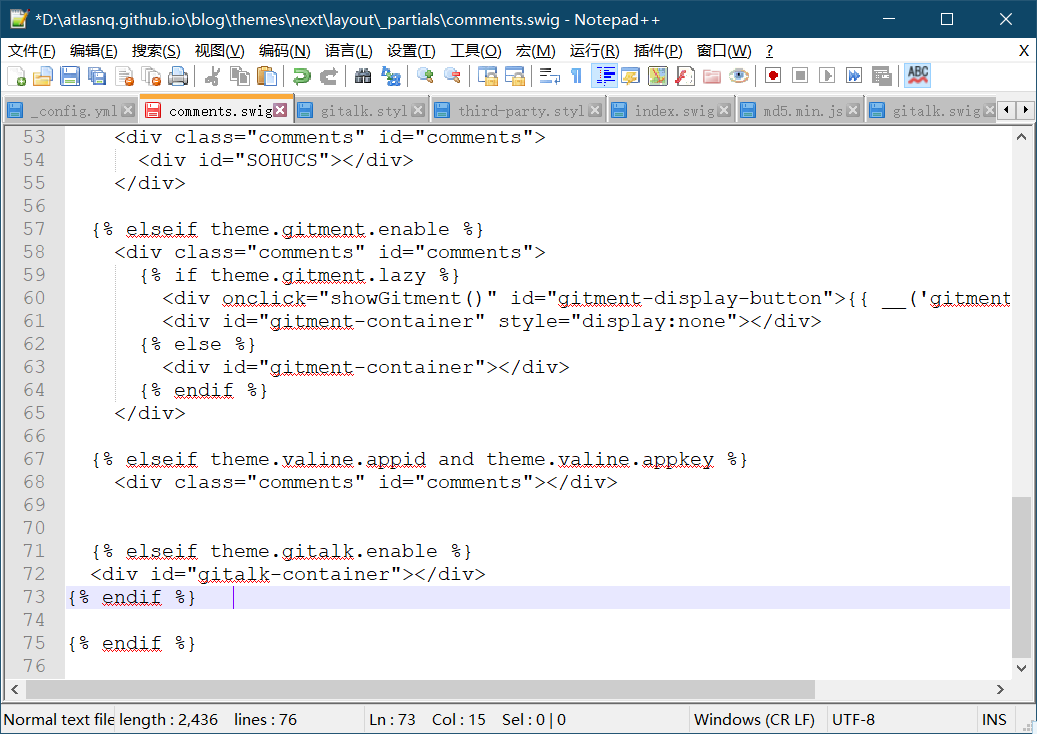
修改/layout/_partials/comments.swig,添加下面内容:
1 | {% elseif theme.gitalk.enable %} |
index.swig
修改layout/_third-party/comments/index.swig,在最后一行添加内容:
1 | {% include 'gitalk.swig' %} |
gitalk.styl
新建/source/css/_common/components/third-party/gitalk.styl文件,添加内容:
1 | .gt-header a, .gt-comments a, .gt-popup a |
third-party.styl
修改/source/css/_common/components/third-party/third-party.styl,在最后一行上添加内容,引入样式:
1 | @import "gitalk"; |
_config.yml
在主题配置文件next/_config.yml中添加如下内容:
1 | gitalk: |
以上为Next主题下gitalk评论的配置,第二部分为自己实践中遇到的问题。
问题
问题一:gitalk无法登录github,重定向到主页
参考https://github.com/gitalk/gitalk/issues/102初步检查一下,总结一下,有可能配置写错了,还有可能就是你的链接是有问题的,我当时犯的错误是我原本的url链接中是含有空格的,改成空格后这个问题就解决了。
问题二:gitalk Error: Validation Failed.
当把问题一解决后每一秒,就发现我有的文章出现了新的问题Error: Validation Failed. 现在Issues浏览了一会儿,解决这个问题的简单的一个办法是通过md5加密来 github issue lables 50 字符限制。
打开https://www.bootcdn.cn/blueimp-md5/点击
复制<script>标签完成对这个js的复制,在next主题文件夹下的source\js\src目录下新建名字为md5.min.js的文件后,粘贴。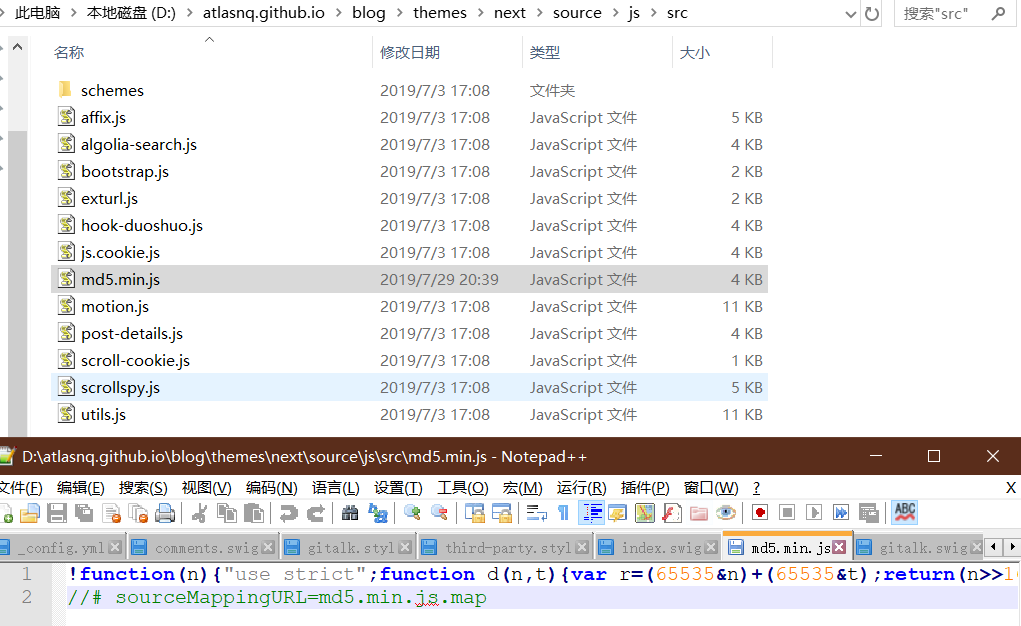
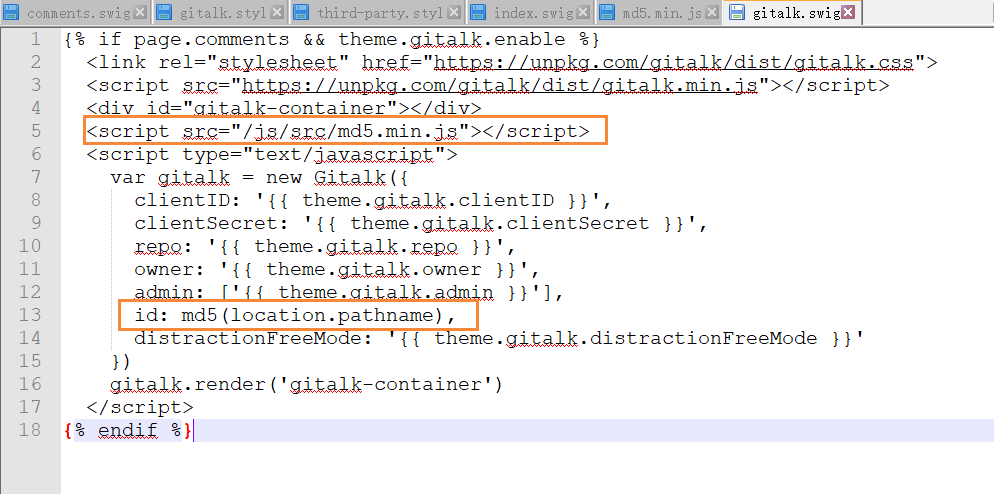
接下来在
layout/_third-party/comments/gitalk.swig配置文件中修改或添加代码<script src="/js/src/md5.min.js"></script>和id: md5(location.pathname),